Are you looking to make your website faster, safer, and easier to manage? Connecting your domain through Cloudflare is one of the smartest moves you can make. In this Cloudflare Domain Setup Guide, I’ll show you how to properly connect your domain, manage DNS records, and gain full control of your website’s performance.
Whether you’re a beginner or already familiar with domains, this Cloudflare Domain Setup Guide provides all the steps, tips, and troubleshooting advice you need to ensure your website runs smoothly.
Why Use Cloudflare for Your Domain?

Cloudflare is more than just a DNS manager. Here’s why it’s worth using:
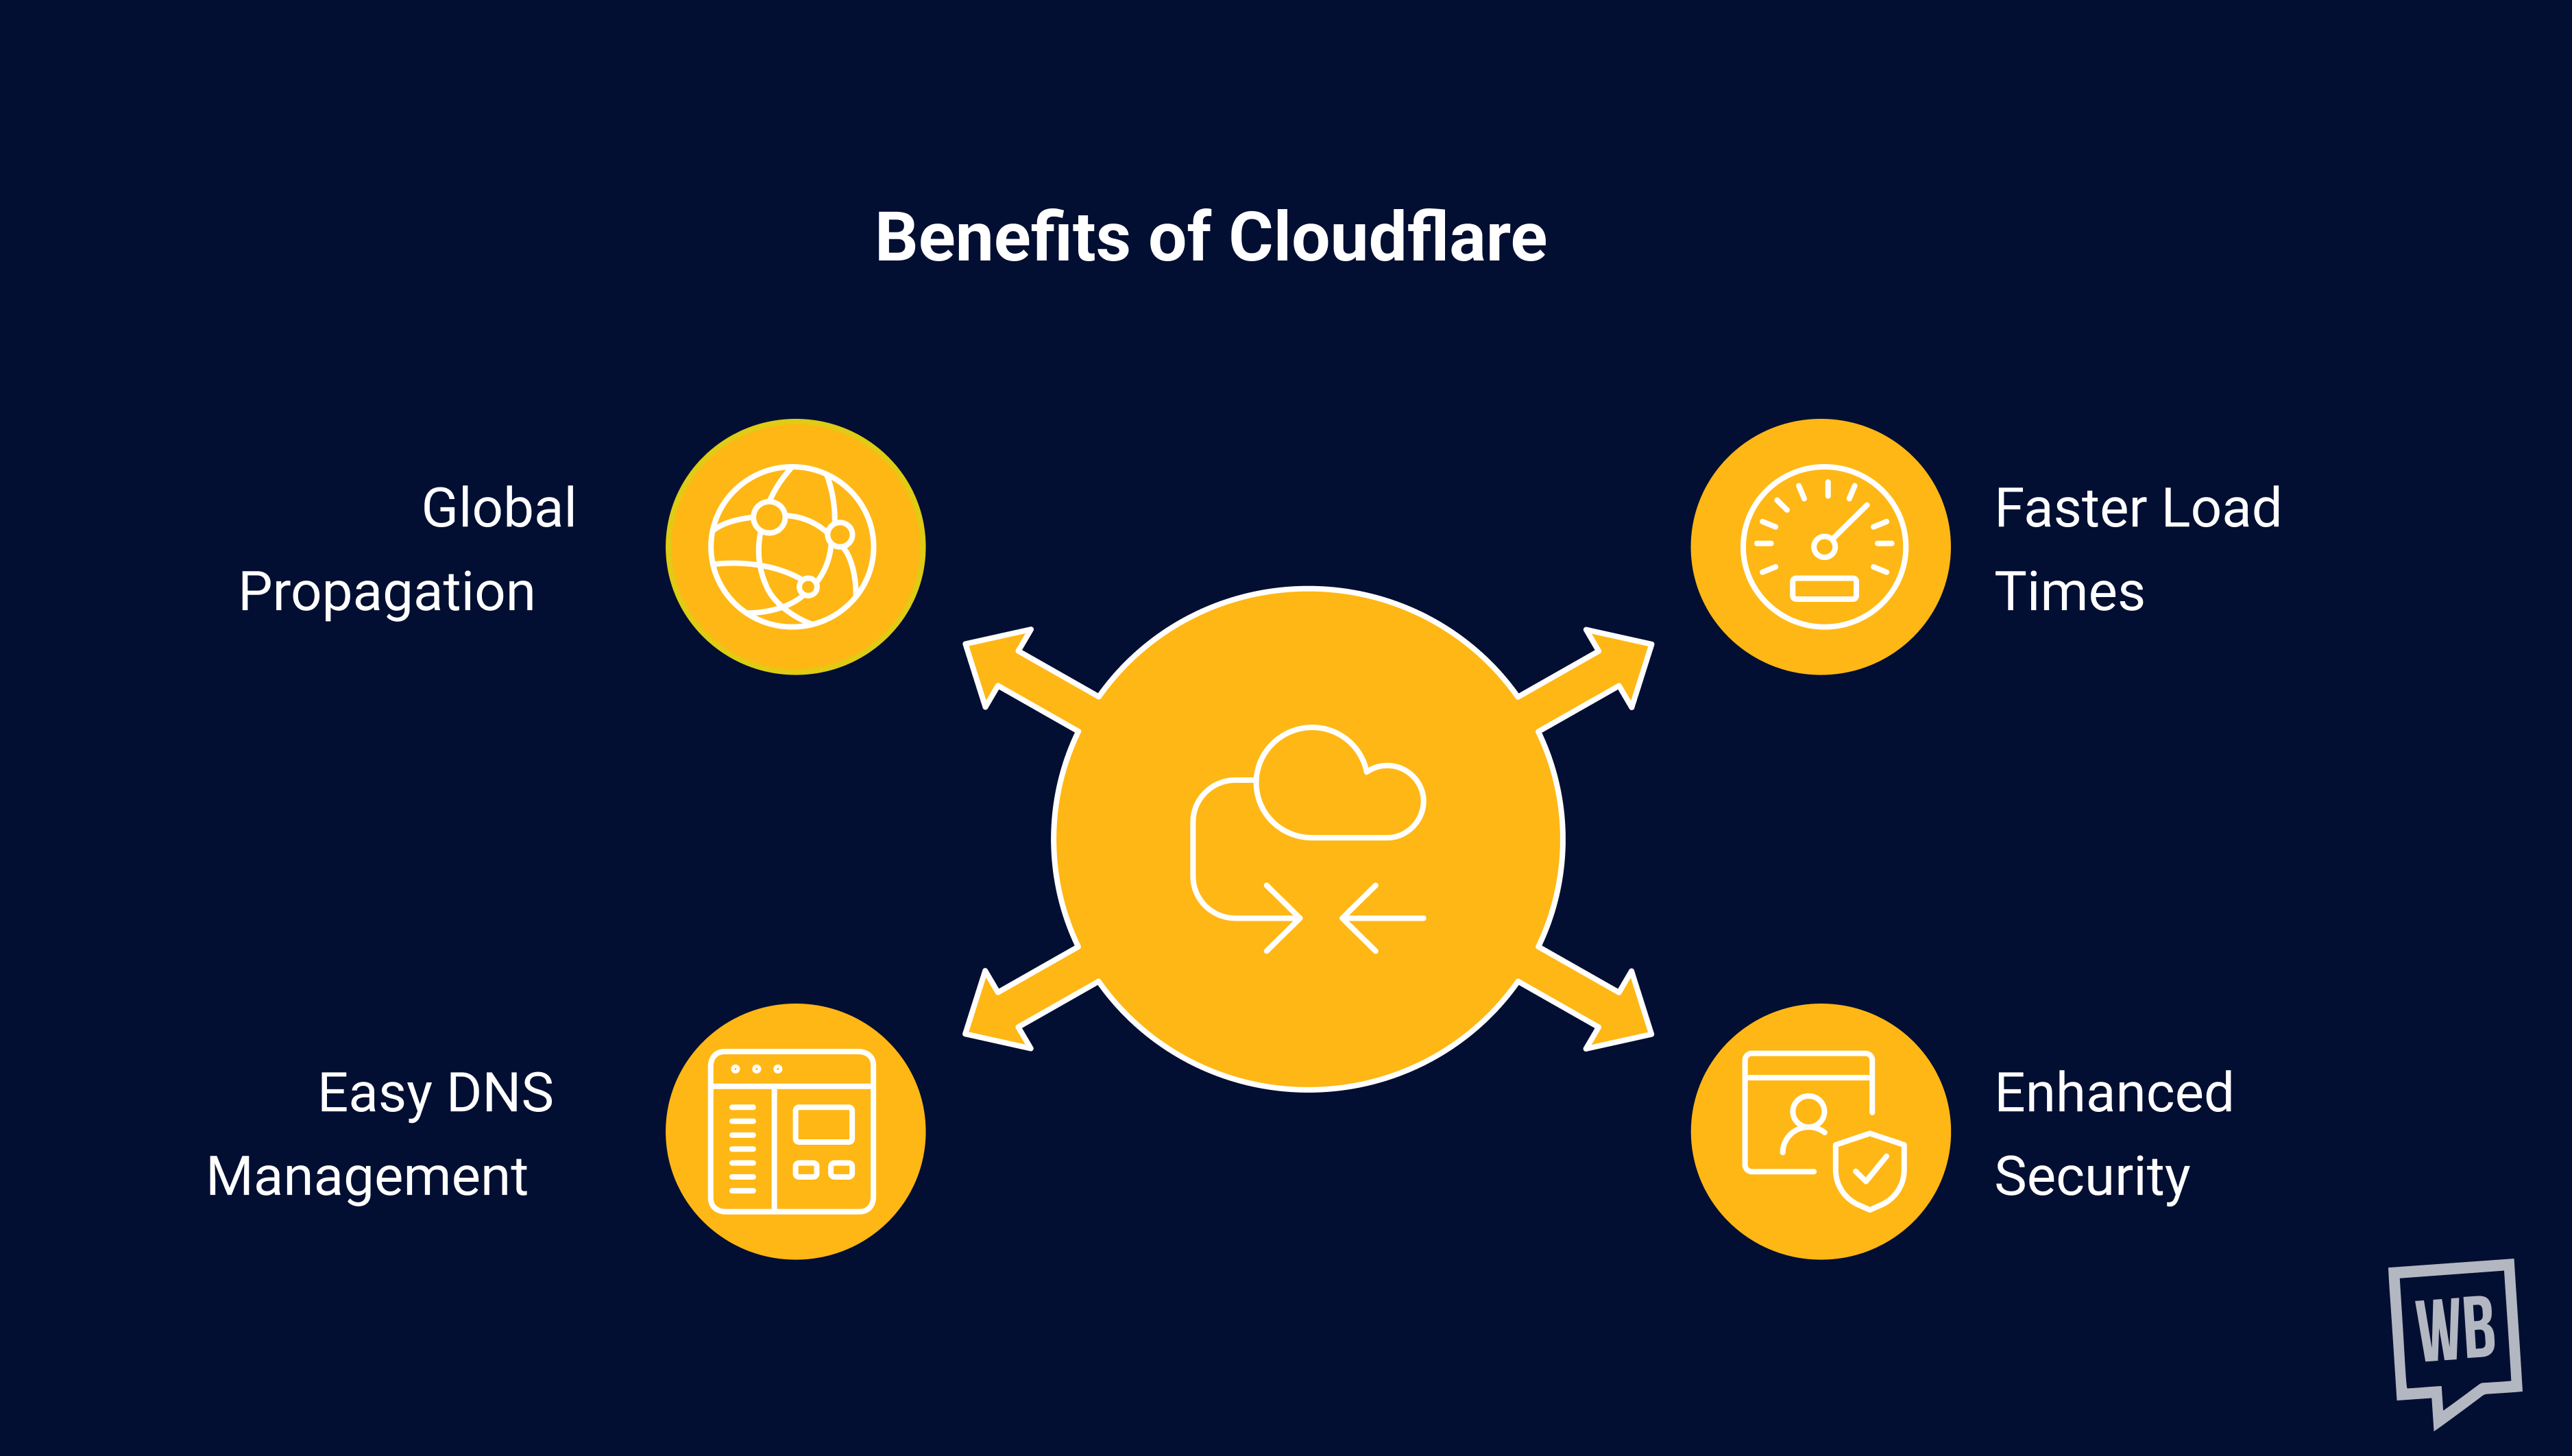
- Faster Load Times: Cloudflare caches your website across multiple servers worldwide, ensuring that visitors experience minimal delays.
- Enhanced Security: Protect your site from DDoS attacks, malicious bots, and other security threats.
- Easy DNS Management: Centralized control over all your domain records, including subdomains, email configurations, and website IPs.
- Global Propagation: Cloudflare ensures your website remains accessible even if one of its servers experiences downtime.
Many beginners overlook DNS management, but using Cloudflare gives you professional-level control that can save time and prevent headaches in the future. That’s why following a proper Cloudflare Domain Setup Guide is essential for every website owner.
How to Connect a Domain to Cloudflare?
Connecting your domain to Cloudflare begins with a registered domain. Cloudflare then acts as a bridge between your domain and hosting, improving speed, security, and DNS management.
Step 1: Buying or Registering Your Domain
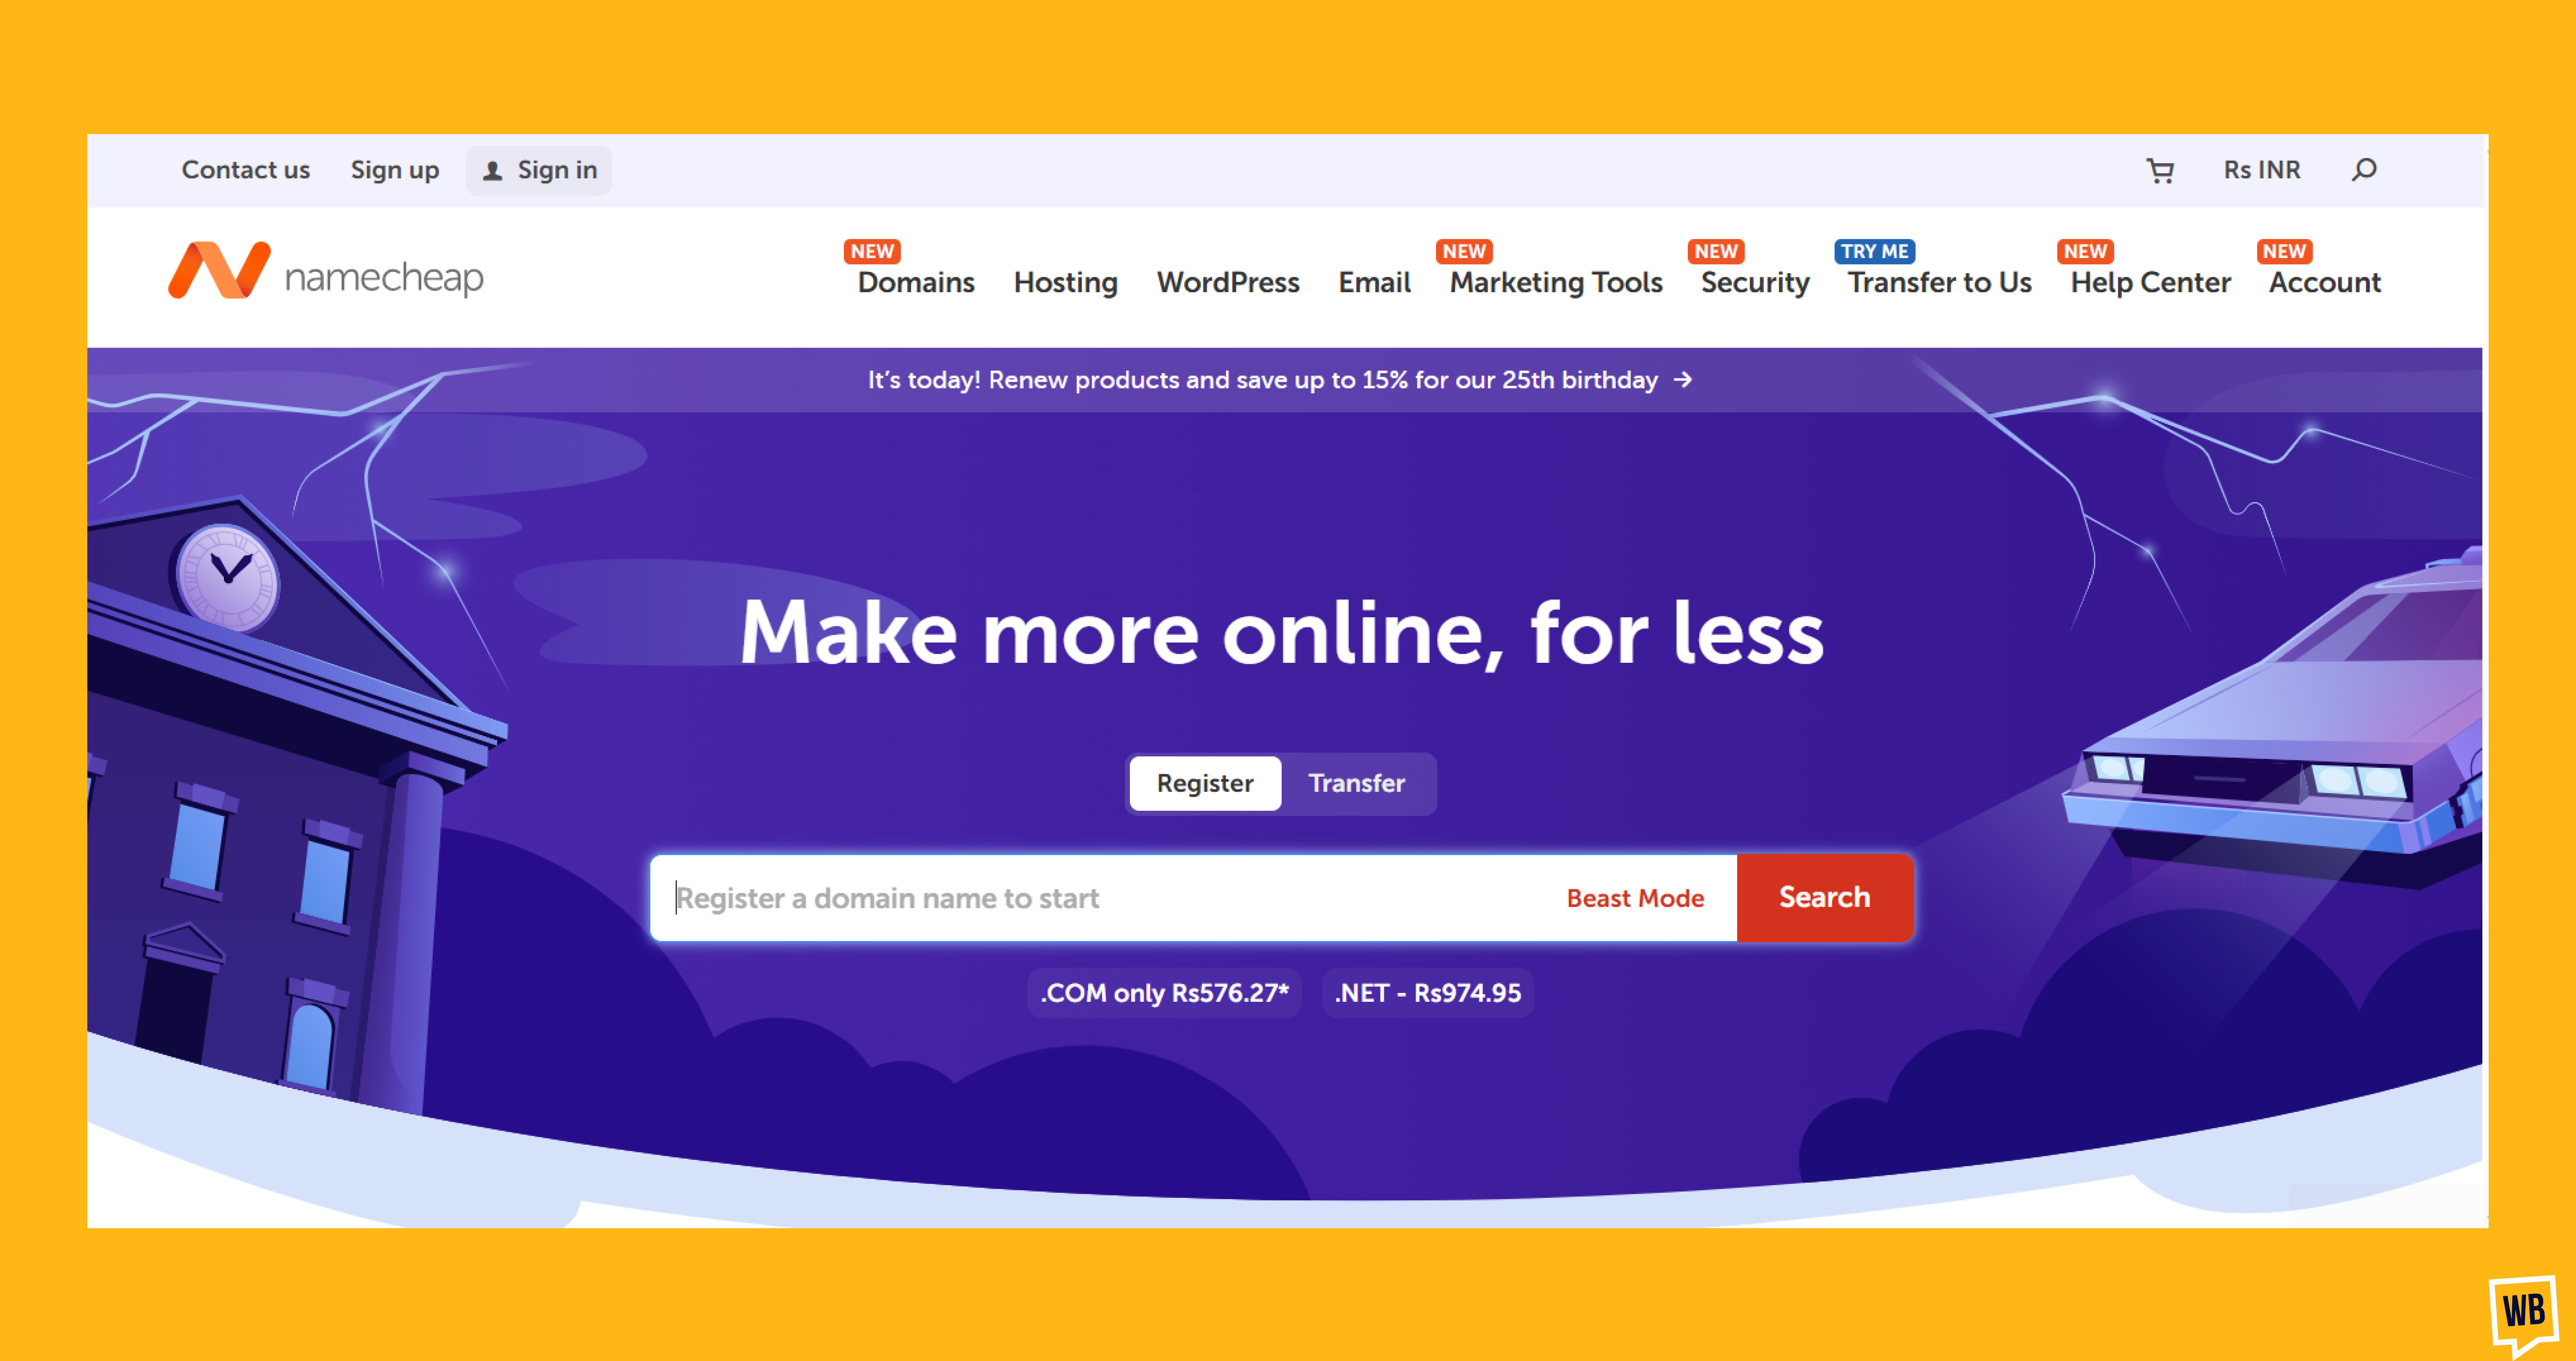
Choose a reputable registrar like Namecheap, GoDaddy, Google Domains, or Register.Domains.
Here’s how I do it with Namecheap:
- Search for Your Domain: Go to Namecheap and type in your desired domain name. It should be short, memorable, and relevant to your brand.
- Check Availability: If the domain is available, proceed to checkout. If not, try variations or use a domain name generator for ideas.
- Avoid Extra Add-Ons: Most registrars offer free email, hosting, or website builders. For now, just buy the domain; you can add these services later if needed.
Tip: Choose a .com extension for maximum credibility, unless your niche prefers .co, .io, or a country-specific TLD.
Step 2: Accessing Your Domain Settings

Once your domain is registered, you need to access the DNS settings:
- Log in to your Namecheap account.
- Go to the Dashboard and click Manage next to your domain.
- Here, you’ll find all domain-related options, including Domain Name Servers (DNS), whois information, and renewal settings.
Think of DNS as the “postal address” for your website. It directs traffic from your domain name to your website’s hosting IP.
Step 3: Why Use Cloudflare for DNS
Cloudflare isn’t just another DNS provider. It’s a technology platform that offers multiple advantages:
- Global Network: Cloudflare caches your DNS records across servers worldwide. This means your website stays online even if one server fails.
- Performance Optimization: Faster load times due to caching and routing traffic through Cloudflare’s high-speed network.
- Enhanced Security: Protects your site from attacks, malicious bots, and unauthorized traffic.
- Flexibility: Easily manage multiple websites, subdomains, and future migrations without touching your domain registrar every time.
For example, if you host a WordPress website on one server today and move to Webflow in the future, Cloudflare makes updating the IP address simple; no need to go back to your domain provider.
Step 4: Setting Up Cloudflare

Here’s a step-by-step guide to connecting your domain to Cloudflare:
1. Go to Your Domain Settings
- Log in to your Namecheap dashboard.
- Click Manage on your domain.
- Look for DNS options.
2. Select Custom DNS
- Most registrars provide default DNS.
- Select Custom DNS instead of using the default Namecheap DNS.
3. Register for Cloudflare
- Go to Cloudflare and sign up.
- Add your domain to Cloudflare.
- Cloudflare will scan your current DNS settings.
4. Update Name Servers
- Cloudflare will provide two name servers (for example, drew.ncloudpay.com and seller.ns.cloudpay.com).
- Copy these name servers.
- Go back to your domain registrar (Namecheap) and paste them in the Custom DNS fields.
- Save the changes.
Once this is done, all traffic to your domain will route through Cloudflare. This means:
- Your DNS records are now managed in Cloudflare.
- You can create subdomains like blog.yourdomain.com or shop.yourdomain.com and point them anywhere.
- Future website migrations are seamless; you only update Cloudflare.
Step 5: Managing Your Domain with Cloudflare
After setup:
- You no longer need to log into Namecheap for DNS management.
- You only need to ensure domain renewal, which can be set to auto-renew.
- Cloudflare now handles:
- All A, CNAME, MX, and TXT records
- Security and performance optimization
- Subdomain redirections and future website migrations
- All A, CNAME, MX, and TXT records
Note: DNS changes can take up to 24-48 hours to propagate worldwide, though it’s often faster.
Step 6: Understanding DNS Records in Cloudflare
Cloudflare allows you to manage all DNS records in one place. Here’s what you should know:
- A Record: Points your domain to an IP address (your website host).
- CNAME Record: Points a subdomain to another domain.
- MX Record: Handles email routing.
- TXT Record: Verifies domain ownership, used for Google Workspace, SPF, DKIM, etc.
Example:
- Main website: converzive.com → 123.456.789.123 (A record)
- Blog: blog.converzive.com → 123.456.789.124 (A record)
- Email: mail.converzive.com → mail provider (MX record)
With Cloudflare, you can update, add, or delete records instantly, giving you complete control.
Step 7: Adding Subdomains
Subdomains allow you to create separate sections of your website. For example:
- blog.yourdomain.com → for your blog
- shop.yourdomain.com → for an online store
- members.yourdomain.com → for a membership portal
To add a subdomain in Cloudflare:
- Go to DNS → Add Record.
- Select Type: A, CNAME, or other record types.
- Enter the subdomain name and the IP address or target domain.
- Save changes.
Subdomains give you the flexibility to host different platforms under the same domain.
Step 8: Setting Up Email with Cloudflare
If you plan to use email, you need to add MX records in Cloudflare:
- Sign up for your email provider (Google Workspace, Zoho Mail, etc.).
- Cloudflare automatically scans for MX records, but you may need to add or update them manually.
- Add any TXT or SPF records to ensure proper email delivery.
Tip: Always test your email after setup to ensure no messages get marked as spam.
FAQs About Cloudflare Domain Setup Guide
Q1: Can I use Cloudflare with any domain registrar?
Yes, Cloudflare works with almost all registrars.
Q2: Is Cloudflare free?
Yes, there’s a free plan suitable for most websites.
Q3: Do I still need to log in to Namecheap after connecting Cloudflare?
Only for domain renewal or account changes. All DNS management happens in Cloudflare.
Q4: What is Cloudflare, and why should I use it?
Cloudflare manages your DNS, improves website speed, enhances security, and provides global caching. It helps your website load faster and stay protected.
Q5: How do I add a subdomain in Cloudflare?
Go to DNS → Add Record, choose the type (A, CNAME, etc.), enter the subdomain, point it to the target IP or domain, and save the record.
Q6: Will connecting my domain to Cloudflare affect my website or email?
If DNS records are added correctly, your website and email will continue to work without interruption. Always double-check A, MX, and CNAME records.
Q7: Can I use Cloudflare with WordPress, Webflow, or other hosts?
Yes, Cloudflare works with any website host. You just need the correct IP address or CNAME provided by your hosting platform.
Q8: How do I secure my website with Cloudflare?
Cloudflare offers SSL/TLS settings, firewall rules, and DDoS protection. Enable SSL to ensure HTTPS works for your domain.
Q9: What should I do if my website is not loading after setting up Cloudflare?
Check that:
- Cloudflare name servers are correctly added at your registrar
- DNS propagation is complete (24–48 hours)
- A and CNAME records point to the correct IP or host
Conclusion
Using Cloudflare for your domain is faster, safer, and easier to manage. By following this complete Cloudflare domain setup guide, you now have full control over your DNS, subdomains, and website security.
Investing time in this setup will save you headaches in the future and give your website a professional edge.
Related Articles:
Email Signature Links: Why It Is Matter for Sales Tracking?
Guide For Email Nurturing Campaigns With Examples
A/B Testing Emails: Best Practices to Follow
Lead Nurturing Email Mistakes
Lead Nurturing Email Examples

%20(1).webp)
